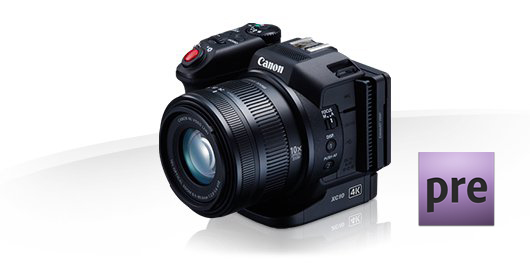
With the XC10 4K Camcorder from Canon, professional UltraHD 4K recording capability is presented in package ergonomically designed for handheld operation and portability. With a 4224 x 3164 total resolution, it is able to capture video at up to 3840 x 2160 and 4:3 photos in up to 12-megapixels (4000 x 3000). However, when you want to import the 4K MXF recordings from Canon XC10 to Premiere Elements for further editing, some problems would occur: missing codec, looped audio... If you are looking for a smooth workflow between Canon XC10 and Premiere Elements, you are in the right place. The following article will present the easiest way to transcode the Canon XC10 XF-AVC MXF footage to MPEG-2 for Premiere Elements.
Why we need to convert the XC10 footage for Premiere Elements? On one hand, MXF format can't be natively supported by many professional video editing applications including Adobe Premiere Elements 10/11/12/13. On the other hand, it also would be a bit hard to handle 4K video with Premiere Elements. So the easy workaround to import Canon XC10 4K MXF into Premiere Elements smoothly is transcoding. EaseFab Video Converter for Mac is an easy-to-use yet solid tool to help you do the Canon XC10 MXF to MPEG-2 conversion.
With it, you can effortlessly convert 4K MXF to MPEG-2, Apple InterMediate Codec, Apple ProRes, DNxHD and more. This is a smart tool for MXF users to preview and convert 4K, 1080p MXF recordings to your wanted video and audio formats, so as to smoothly add them into Adobe Premiere Elements, Premiere Pro, iMovie, FCE, FCP, Avid Media Composer to do further editing. If you have MXF editing issues on Windows PC, get the Video Converter to solve the problem. Read on to find a step-by-step guide talking about how to rewrap XC10 4K/HD MXF files to MPEG-2 for editing in Premiere Elements natively.
How to convert Canon XC10 4K/HD MXF files to MPEG-2 for Premiere Elements
Step 1: Download, install and launch MXF Converter for Mac as a Canon XC10 Video Converter for Premiere Elements. When its main interface comes up, click "Add Video" button to load your source media.
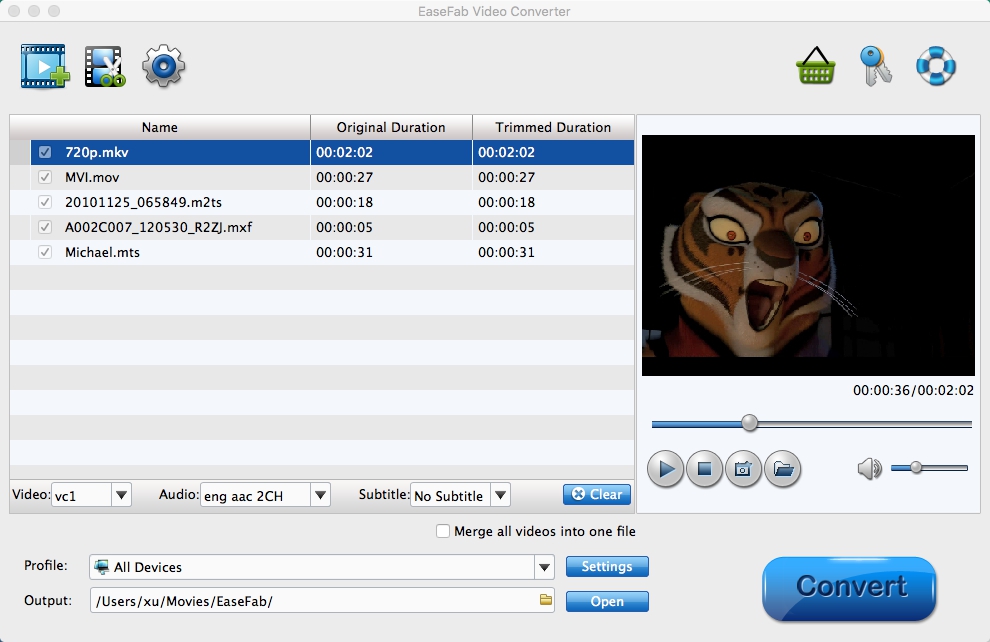
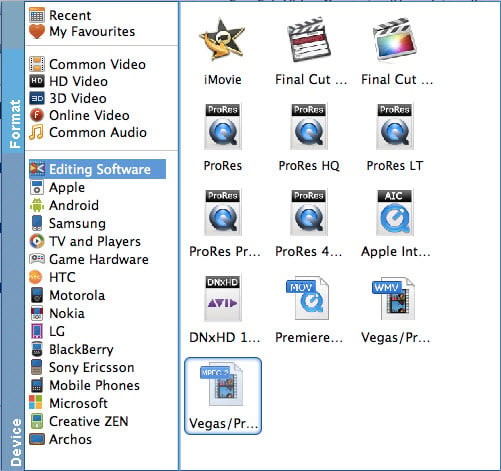
Step 2: The program has three already optimized the video settings for Adobe Premiere Elements. You can select MOV, WMV or MPEG-2 from "Editing Software" as the output format. Here we recommend you choose MPEG-2. The output videos will keep the original quality of the XC10 MXF video and seamlessly fit Adobe Premiere Elements 13/12/11/10.
Tips: The default setting works well. Of course, if you want to customize video and audio encoding settings, just click the "Settings" button to customize these settings. You can adjust the output video/audio resolution, frame rate, bit rate, etc. to customize the output files to get the best quality you want.
Step 3: Tap "Convert" button to start converting Canon XC10 4K MXF to MPEG-2 for Adobe Premiere Elements under Mac OS X.
Once the conversion is done, you can transfer Canon XC10 MXF footage into Premiere Elements for editing smoothly with ease.
Read More:
Working With Canon XC10 XF-AVC Files in Final Cut Pro X/7/6
How to import Canon XC10 4K MXF files to Premiere Pro
Best Workflow of Working with Canon XC10 XF-AVC in iMovie