Video Converter for Mac Quick-Start Guide
 Download EaseFab Video Converter for Mac 64-bit Installer
 Download the 32-bit installer for macOS 10.14 or lower
EaseFab Video Converter for Mac is a high-speed digital video conversion program that lets you seamlessly convert virtually any type of digital video formats on Mac OS X. Download it and follow the guide and learn how to convert video and audio files.
※ For the detailed guide, please go to the User Manual of EaseFab Video Converter for Mac.
Add source files
Drag the video files you want to convert to the video files list (Mac Video Converter supports batch conversion, so you can import multiple files at a time). You can also click the "Add Video" button to browse your Mac hard drive and add the video files you want to convert to the program.

Select an export format or device and destination folder
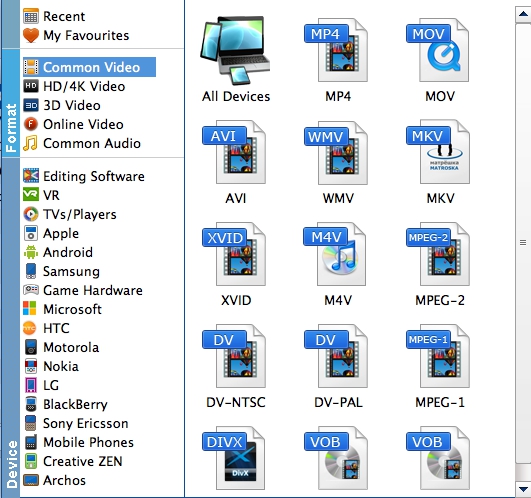
Click Profile (located below where your files are displayed) and select the format you want from the drop-down list. Just below Profile is Output, here you can browse your computer for a better destination folder for the Mac Video Converter to save your converted movies. As you see, all regular SD/HD and even UHD 4K video and audio formats like MP4, MOV, MKV, WMV, AVI, FLV, MP3, WMA, WAV, M4A, etc. are provided.

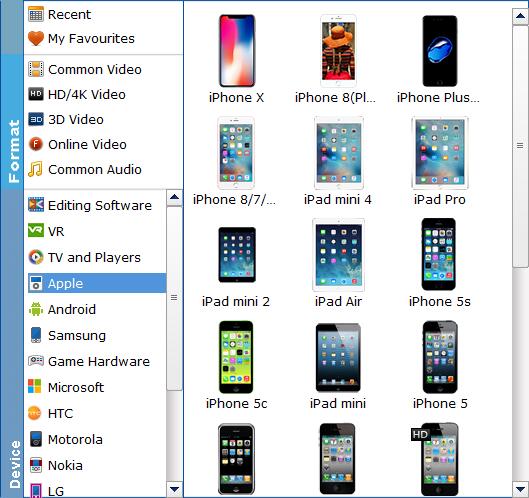
If you want to convert your video files for play on portable devices, including iPhone, iPad, iPod, HTC, Samsung Galaxy Tab S, Galaxy S5, S4, Nokia, SSony, PSP, Xbox One and more, you can simply browse to find the icon of your device and select it as the output format to get videos with optimized settings. All Idevices output files can be synced to iTunes automatically.

Tips: The default setting works well. Of course, if you want to customize video and audio encoding settings, just click the Settings button to customize these settings. You can adjust the output video/audio resolution, frame rate, bit rate, etc. to customize the output files to get the best quality you want.
Start conversion
Once you've selected the output file format you want, you're ready to convert. Simply click the big Convert button to let the software start converting your Blu-ray or DVD. The encoding time depends on the quality and duration of the output movie. Wait for the conversion to be done and click Open to get the converted video files.
How to Edit Your Videos on Mac
Before converting your DVD videos, you can click Edit to personalize and touch up your videos in clicks. Video editing functions like trim, crop and adding effect/watermark are provided. Click ![]() to enter the Video Editor Window and then:
to enter the Video Editor Window and then:
Trim
The "Trim" feature allows users to decide where to start and where to end when converting the selected clip, so that unwanted segments will be cut out after conversion.
To trim a video, please switch to "Trim" tab in "Video Editor" Interface and follow any of the methods below:
1. Drag the control sliders video converter slide to include the segment you want to remain.
2. Click the left square bracket to set start point, and click the right square bracket to set end point when previewing the video.
3. Input specific values to "Start" and "End" box.

Crop
Here you can drag and move the rectangle on the video to set the crop area or enter the accurate crop values on Left and Top. Meanwhile, you can zoom in or out, change the aspect ratio and rotate videos. In this way, you can remove the black bars of your videos.

Watermark
Under Watermark tab, you can create a text watermark to personalize your video. Type whatever text you want in the blank input field next to it. You can also adjust the font, transparency, vertical and horizontal position of your watermark.

Click the Effect tab and you'll be able to adjust video brightness, contrast and saturation, apply grey, negative, emboss or old film effects and apply a number of deinterlacing options.


