How to Quickly Burn an ISO Image File to a DVD
ISO file, generally referred as an ISO image, is basically an archive file of an optical disc and has an extension of .iso. These files are the sector by sector copy of the entire DVD contents, which can be termed as the complete representation of an entire CD, DVD, or a BD. To play ISO image files seamlessly on TV via DVD Player, you'll need first burn ISO to DVD disc first. If you have no idea about it, you've come to the right place. This article will simply show you how to burn DVD from an ISO file quickly and easily.
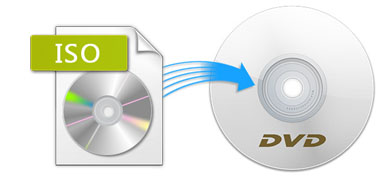
To fast and easily make DVD out of ISO image files, you need an excellent DVD creating tool. EaseFab DVD Creator, one of the best DVD burner softwares, can convert and burn almost all popular video files with high quality, including burning ISO to DVD disc. If you are a Mac user, you can turn to EaseFab DVD Creator for Mac (macOS High Sierra included), which has the same function as the Windows version. Now just download the right program according to your computer OS and follow the step-by-step guide below to burn DVD from an ISO file quickly and easily.
Easy Steps to burn an ISO image to a DVD disc
The steps to convert and burn ISO files to DVD on PC (Windows 10 included) and Mac are almost the same, just make sure you get the right version of the ISO to DVD creator. Below we take ISO Converter for Windows for example. Please note that some DVD players have a hard time reading DVD-RW, and showing the error message like "Drive or Disk not ready".
Step 1: Add ISO files to the ISO to DVD converter.
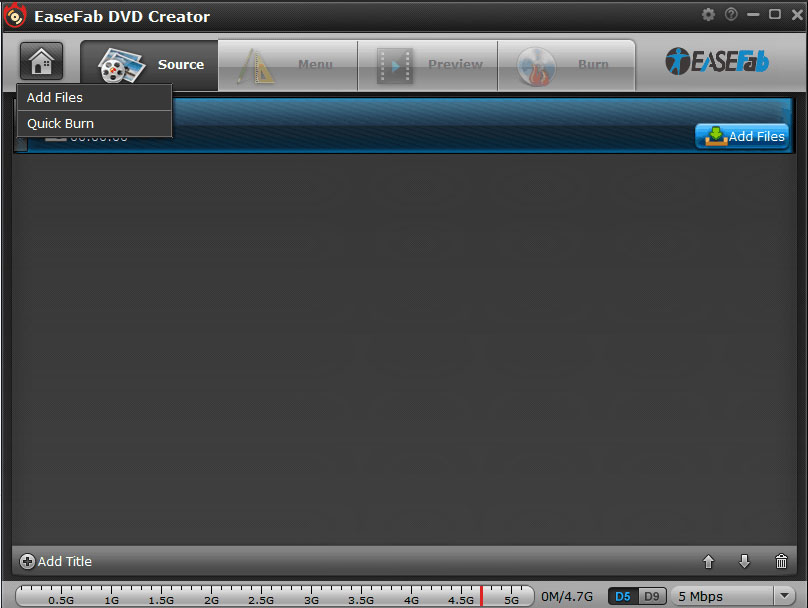
Inatall and run EaseFab DVD Creator, then select "Quick Burn" from drop-download list of Quick Start menu.
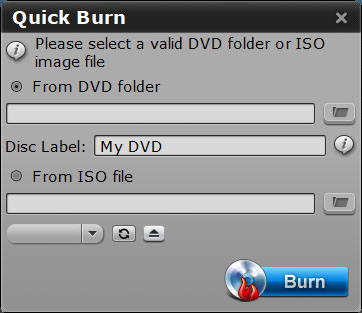
The quick burning window pops up as below. Browse the source DVD ISO image files and import.
Step 2: Edit video with the built-in video editor (Optional).
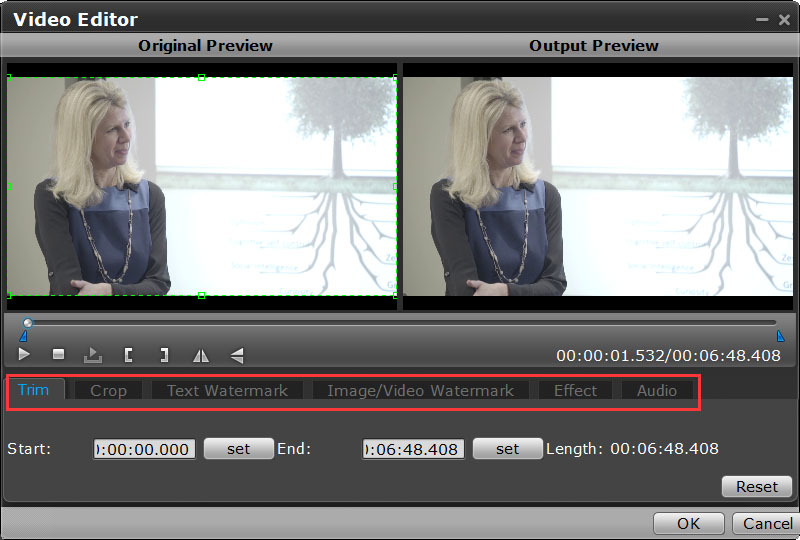
If you want to customize the ISO file before burning it to DVD, you can click the 'Pencil' icon or highlight and then 'right-click' to access its editing options. In Video Editor, you can crop video, apply effects, add subtitles, add watermark and more.
Step 3: Ajust DVD Settings.
ow choose your desired DVD template by clicking "Menu" tab. To use a preset menu template from DVD creator, simply double-click on the template. When/if you don't need DVD menu, use "No Menu" from Menu Templates area.
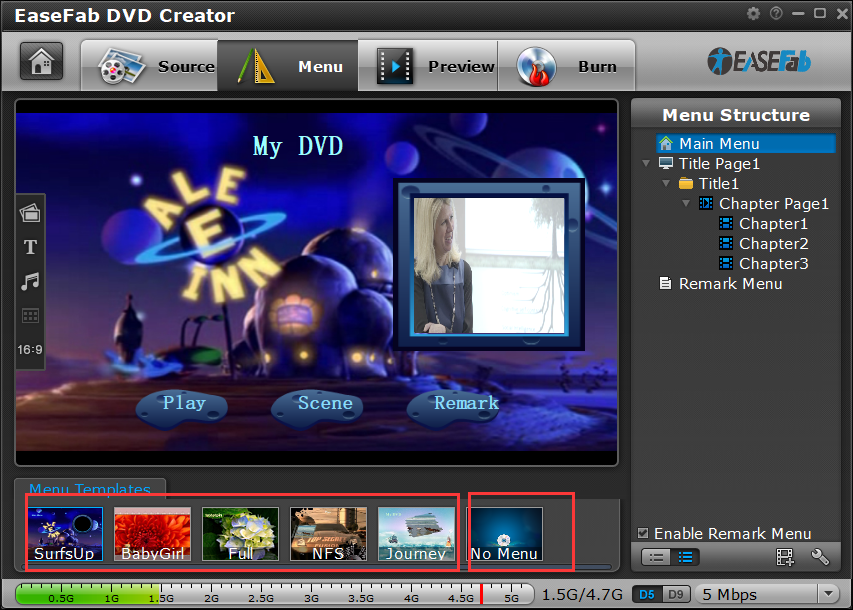
To customize an object, you have to select it first. Cut over in the Menu Structure area to select the page that you'd like to custom. Custom includes changing the DVD menu template/style, menu text, display aspect ratio and background for the DVD menu. You can also set chapter mark, and playback mode.
Step 4: Preview your DVD creation before you burn it.
Once the menu has been decided you can preview how it will look in DVD Creator. Press "Preview" tab and your DVD video will be played just like on a DVD player. The control buttons here are corresponded with the keys on remote control.

Step 5: Begin burning ISO files to DVD.
After above steps, insert a blank DVD disc to your DVD drive. Switch to "Burn" screen when you finished authoring DVD and feel like to burn created DVD-video onto a writable DVD that will play standard DVD player. DVD Creator writes content to single-layer 4.7 GB and dual layer 8.5GB DVDs. At the bottom of the main interface you can set DVD-5(D5) or DVD-9(D9) as target disc type.
When burning ISO file to DVD disc is finished, you can play it with your home DVD player and watch the video on TV.
Other Useful How-to Guides & Tips
How to Burn Videos to DVD in Windows 10 for Free
This article will show you two different ways to burn a DVD for free without using third-party DVD burning software.
How to Easily burn MP4 Videos to a DVD Disc
Read this guide to know best MP4 to DVD converter and learn how to burn/convert MP4 to DVD free easily.
Copyright © 2026 EaseFab Software Corporation. All Rights Reserved.

