H.264 or MPEG-4 Part 10, Advanced Video Coding (MPEG-4 AVC) is currently one of the most commonly used formats for the recording, compression, and distribution of video content. But the problem with H.264, when you plan to edit the H.264 file with Windows Movie Maker, you may be able to do this, but may be unable to. So what's the matter? Read on to find the reason and the best workflow to make H.264 compatible with Windows Movie Maker.
Well, in fact, Windows Movie Maker is pretty picky with the codecs of what it'll accept. As far as I know, Windows Movie Maker doesn't like H.264 in an AVI, MP4, MKV container. On the other hand, the H.264 codec is a final delivery codec which is not one you want to use for editing. Usually we can access lots of H.264 videos from GoPro H.264(.mp4), Canon EOS H.264(.mov), Nikon DSLR H.264(.mov), YouTube .mp4 or some other source, these H.264 videos always can't be supported by Windows Movie Maker.
To fix the H.264 and Windows Movie Maker incompatible issues, one option is to download and install H.264 codec for Windows Movie Maker, problems may be resolved. If you are certain that tyour operating system has all the necessary codecs installed, but you still cannot open the file, try converting the video to another file format and then opening the clip in Movie Maker. Along with some help from a third-party program like EaseFab Video Converter, you can transcode H.264 to Windows Movie Maker compatible WMV files without any quality loss.
It is an all-in-all converter that can help all Windows users losslessly convert the HD footages and blu-ray/DVD files to most popular video formats as well as importing MP4 to Pinnacle, Cyberlink, Sorenson Squeeze, Windows Movie Maker, etc. for editing. Besides, this smart converting program also provides users with useful editing functions and new features such as converting 2D videos to 3D, etc. Below is the simple process of converting H.264 to Windows Movie Maker.
Guide: Encode and Load H.264 to Windows Movie Maker
Step 1. Add H.264 files to the program
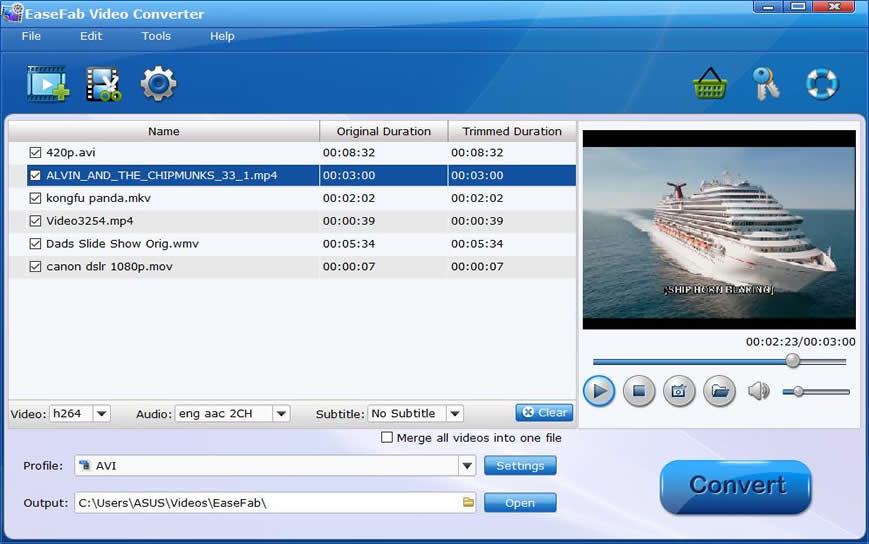
With the H.264 to Sony Movie Studio converter, you can directly drag and drop the H.264 files to the converter, or click "Add Video" button to locate the H.264 files you want to load.

Step 2. Choose output format
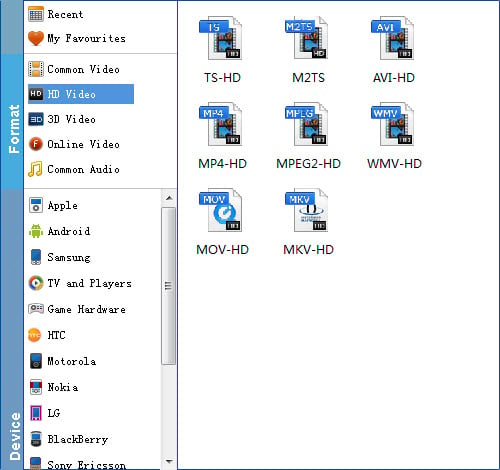
Hit the "Profile" box and select "HD Video" > "WMV HD" on the dropdown menu as output format. You can also adjust the output resolution by clicking the Settings button. You can also click Output Folder to choose a folder to save the converted media files.

Step 3. Tap the "Settings" icon to adjust audio and video parameters for Windows Movie Maker
Once you have chosen the output format, then click the "Settings" right beside "Format" to adjust the video and audio parameters.
Step 4. Start the H.264 to Windows Movie Maker conversion
The conversion should be quickly finished. Once the process is at 100%, you can have the converted file easily worked with Windows Movie Maker.
