Many of our video files today exist in our computers as .avi files. These.avi files can be read by various media players and video editors across different platforms and devices. However, the point here, sometimes you will find it's a frustrating thing to import AVI to Windows Movie Maker for editing. Some AVI files only played with audio, and some AVI videos even can't be recognized by WMM. These are the common problems encountered by many Windows Movie Maker users. Download a codec pack but it's messing up your Windows Movie Maker? Had a lot of funny AVI videos but can't edit them with Windows Movie Maker? The tutorial will explains you how to get AVI to work with Windows Movie Maker beautifully.
Although Windows Movie Maker claims it support AVI importing, AVI, a container format just like MKV and MP4, may includes with codecs that are not compatible with Windows Movie Maker. To download a proper codec pack is somewhat annoying. Well, no need to worry now. We don't have to understand these complicated codecs and download them for video editing in WMM. There is an easy way to deal with the problem - converting AVI to WMV, the most compatible format for Windows systems and Windows Movie Maker.
Actually, it's not as difficult as you imagine. What's need is a just a common video converter like EaseFab Video Converter. It supports creating high quality WMV video for your Windows Movie Maker, no matter what's the format of your source video files. It can convert almost any video to WMV so you can import your video to Windows Movie Maker for editing. If you're facing problems editing your video files like AVI, VOB, MKV, MOV with Windows Movie Maker, chances are you already installed this great and powerful utility. If not, download it from below.
How to convert AVI to WMV for editing in Windows Movie Maker
Step 1. Import AVI files to the program
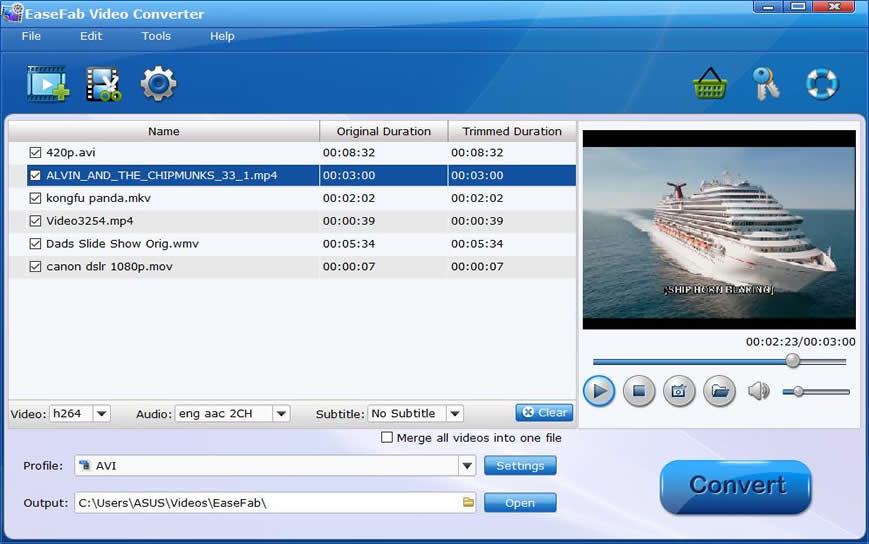
Install EaseFab Video Converter if you haven't got it yet on your Windows (Windows 10) PC. Launch it afterwards. The first step is to import your .avi video file into the video converter. You have two ways to do this: simply drag-and-drop your files or click the Add Video button to browse for your .avi files in your computer.
Step 2. Set WMV as the output format
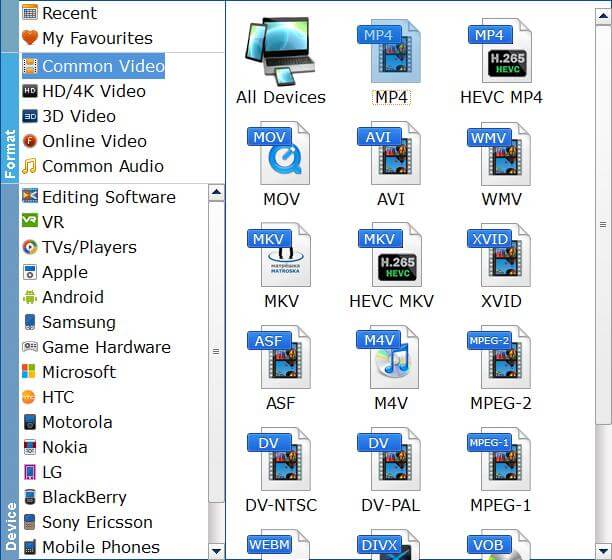
Click "Profile" (located below where your files are displayed) and select the format you want from the drop-down list. Here you can choose "WMV" from "Common Video" category or Choose "WMV-HD" from "HD Video" as the output format.
Tips: The default setting works well. Of course, if you want to customize video and audio encoding settings, just click the "Settings" button to customize these settings. You can adjust the output video/audio resolution, frame rate, bit rate, etc. to customize the output files to get the best quality you want.
Step 3. Start converting AVI to Windows Movie Maker
You should be ready to start conversion at this point. Just click on the Convert button that can be found on the menu. Wait for a while and the video converter will do the trick. You will soon have your .avi video into a WMV format that's recognizable and editable by Windows Movie Maker.
Step 4. Import AVI to Windows Movie Maker
Depending on your version of Windows Movie Maker or Windows Live Movie Maker, the buttons are slightly different:
Import AVI video to Windows Movie Maker: When the conversion complete, open Windows Movie Maker and click Import or Import Video on the left to import your video to the movie collection and drag and drop to the timeline for editing.
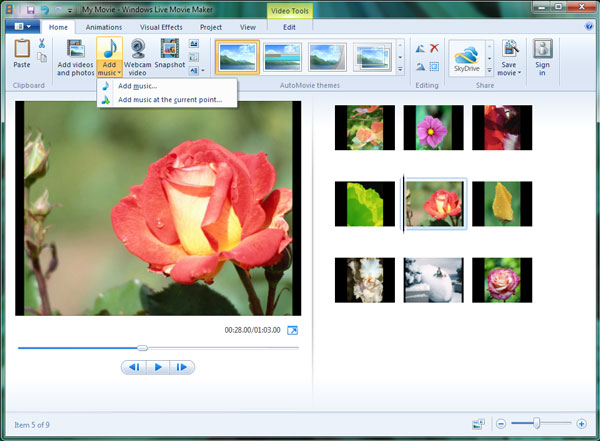
Import AVI video to Windows Live Movie Maker: Start Windows Live Movie Maker and go to Home tab in the ribbon menu and click Add video in the Add panel to locate the converted MP4 video.