How to Crop Video
EaseFab Video Converter has all the editing features for you to customize your video. Follow the simple steps below to learn to crop video at will.
How to Crop Video
EaseFab Video Converter has all the editing features for you to customize your video. Follow the simple steps below to learn to crop video at will.
Add the videos
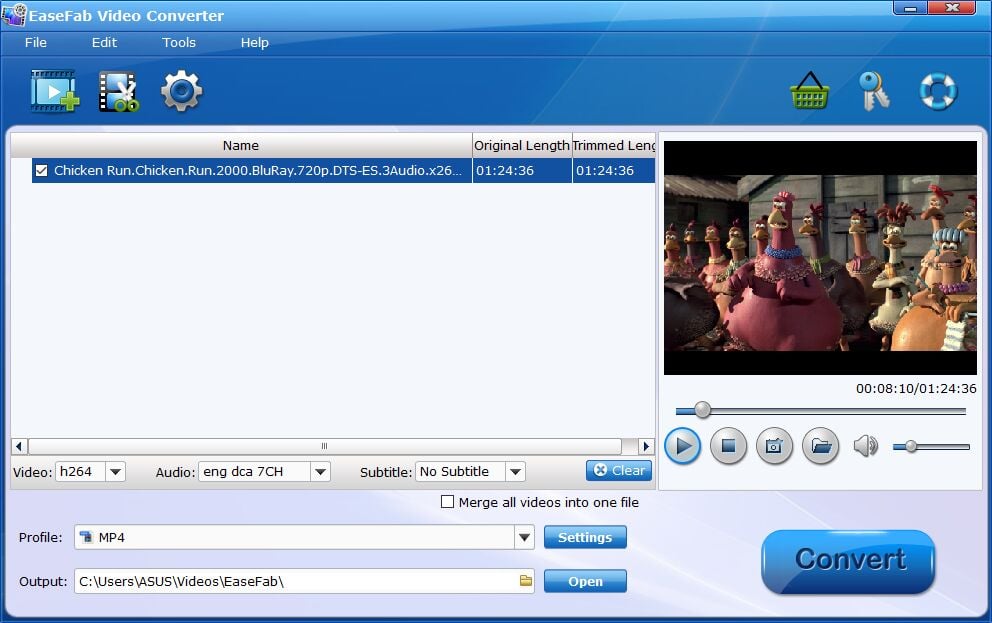
Before you start, you need to add the videos you want to crop to EaseFab Video Converter. There are two methods to load files into the software.
1. Click the ![]() button to load video or audio files from your computer or other devices like USB device, camcorder, MP4 player, etc.
button to load video or audio files from your computer or other devices like USB device, camcorder, MP4 player, etc.
2. Directly drag and drop the files you want to convert to the main interface.
Note that batch conversion is supported so you can add as many files as you like at one time.
Crop Video
The Crop facility enables users to get rid of the black edges and unwanted area of the image.
Click ![]() button to enter the video editor Window, and switch to Crop tab and follow any of the methods below:.
button to enter the video editor Window, and switch to Crop tab and follow any of the methods below:.
1. Drag the corner of the video frame or enter the specific width and height to set the crop area size. You can see the output preview simultaneously.
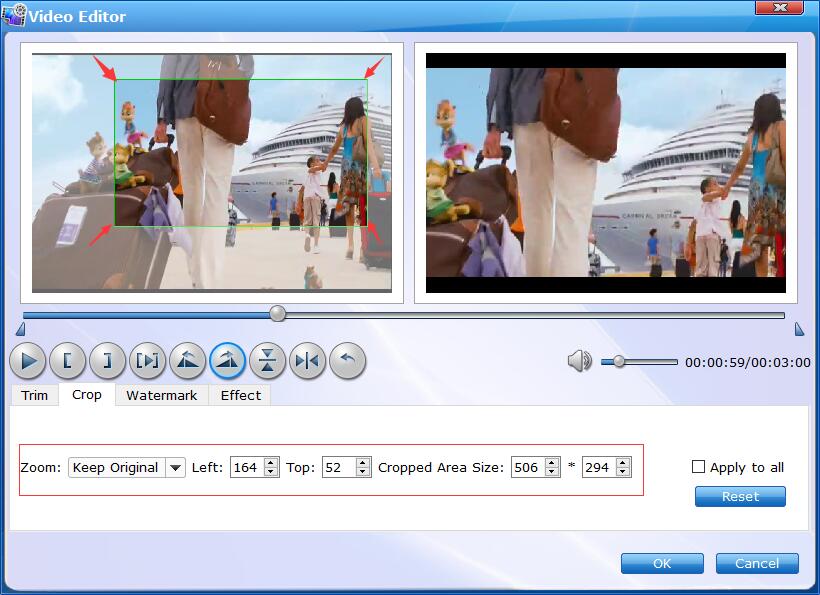
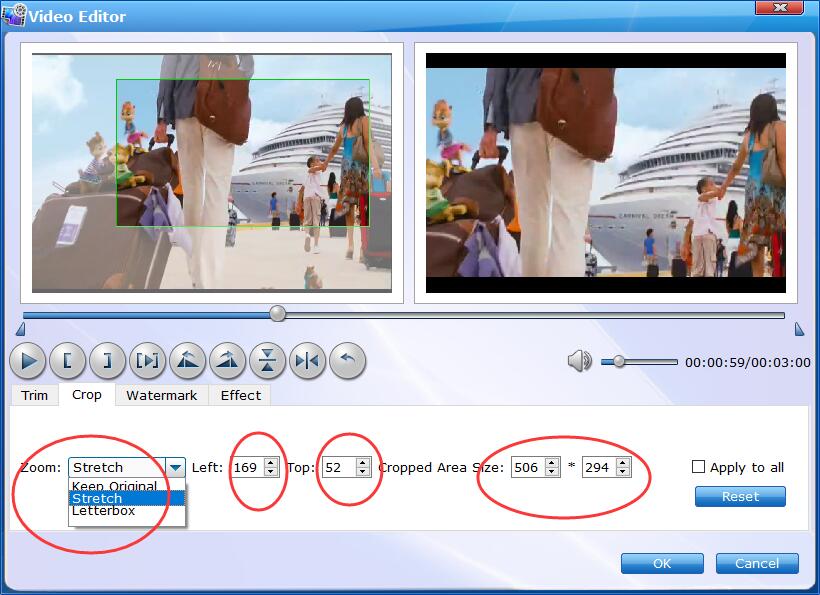
2. Crop Video by setting values.
You can customize values in the box of "Left", "Top", "Cropped Area Size" to to make your crop decision. You can also zoom your videos by keep original, stretch, Letterbox.
Save Cropped Video and Convert.
When you've done the crop well, click OK and you'll return to the program's primary interface, then choose an output format and then click the Profile bar and select and output format for the edited video. Now, just click the Convert button to start the conversion.
Find the Cropped Video.
After the conversion completes, you can tap the Open button at the bottom of the main interface to open the output folder.

Copyright © 2026 EaseFab Software Corporation. All Rights Reserved.