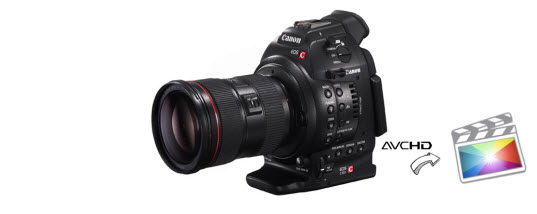
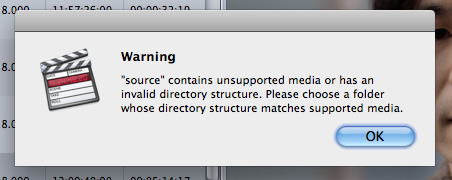
The Canno C100 records 1920 x 1080 Full HD movies in AVCHD format to SD Cards at a bitrate of 24Mbps, offers an ISO range of 320-20000, can output uncompressed video driectly to external recorders. To be able to import Canon C100 AVCHD footage to Final Cut Pro X or FCP 7/6 correctly, it requires the directory structure of the C100 footage must be the same as when it was recorded to the card. If you've copied your footage onto a hard drive or other storage media and only kept part of the file structure you're going to be presented with an unsupported media error message like this one...
To solve the problem, the easy solution is to rewrap before importing. Actually, it's not as difficult as you imagine. What's need is a just common video converter like EaseFab Video Converter for Mac, which can easily rewrap and transcode Canon C100 AVCHD MTS to ProRes codec, which ensures the best result when working with Final Cut Pro X. This will save you both time and trouble, and all you need is to drag the result videos for prompt editing. Just download it and follow the steps below to learn how to convert and import Canon C100 AVCHD footage to FCP X for smooth editing.
Download the AVCHD to FCP Converter:
The Mac program also supports creating native professional codecs for Adobe Premiere Pro, Avid Media Composer, iMovie, Final Cut Express. It is free, clean and safe to install and use and it's highly compatible with any Mac OS X systems including 10.10 Yosemite, 19.9 Mavericks, 10.8 Mountain Lion, 10.7 Lion, 10.6 Snow Leopard, 10.5 Leopard.
How to convert Canon C100 AVCHD to ProRes MOV for FCP X
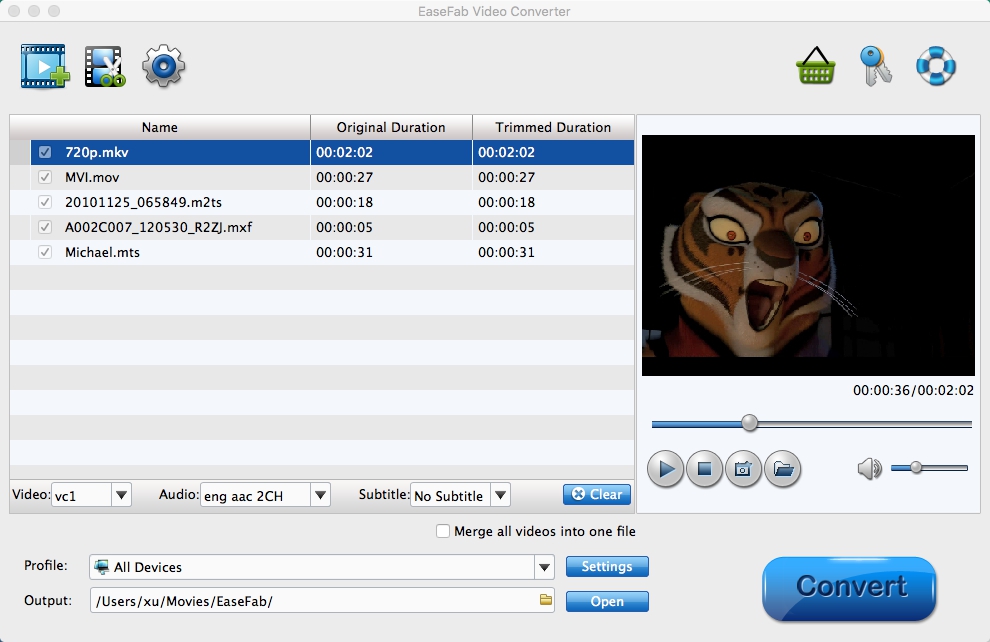
Step 1. Load Canon C100 footage
Start up the video converter app on your Mac, and then Click Add Video button to load your source files from your C100 camera. You can directly drag and drop the MTS videos stored on your computer's hard disk drive to the program. You can batch convert by highlighting all the clips you just imported or one by one.
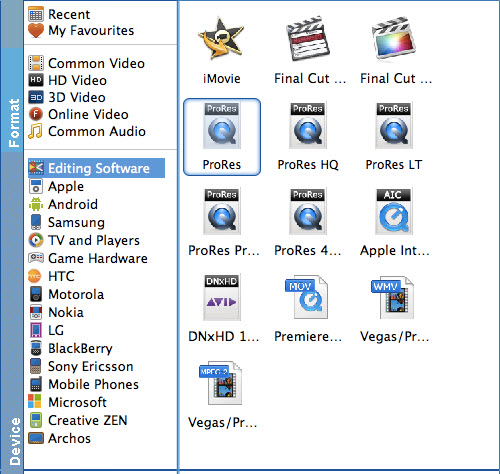
Step 2. Select Final Cut Pro as the output format
The Profile tray locates in the buttom of the window. Go to the "Editing Software" category and click "Final Cut Pro" as the output format. By selecting the "Final Cut Pro" (ProRes 422 codec) preset, you needn't to adjust the video settings like video format, video resolution, frame rate and more by yourself.
Step 3. Start transcoding
When everything is OK, click Convert button to start converting Canon C100 MTS to Final Cut Pro editable Apple ProRes 422 codec. Once the conversion finished, click "Open" button to get the generated ProRes MOV files.
Finally, launch Final Cut Pro, choose File > Import > Files..., and browse to where you save the converted AVCHD clips to. Choose the videos that you'd like to add.
Related Articles:
Canon C100 Workflow with Adobe Premiere Pro
Canon C100 Mark II Workflow with Avid, FCP X and Premiere