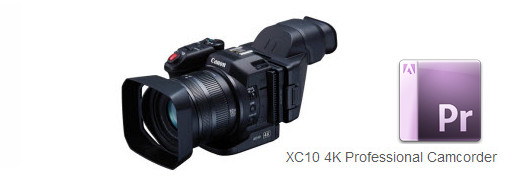
With the XC10 4K Camcorder from Canon, professional UltraHD 4K recording capability is presented in package ergonomically designed for handheld operation and portability. Video is recorded with H.264 compression and packed in the widely supported MXF wrapper. As a Canon XC10 user, you may be confused with XC10 workflow with Premiere Pro. Though Adobe Premiere Pro especially the CS6, CC provide native support for Canon MXF, with no transcoding, smooth importing, strong metadata support, real-time editing, and flexible delivery options, something frustrating to its users is that when loading Canon XC10 4K MXF files to Premiere Pro, some error messages like missing codec, looped audio, etc occurred from time to time.
The basic reason is that MXF is a self-container format; it is not an ideal editing format for NLE system including Adobe Premiere Pro. To help XC10 owners get rid of this trouble, I will show you the easiest and quickest way to convert Canon XC10 MXF files to MPEG-2 for editing in Premiere Pro smoothly.
To finish the task, you can download and apply EaseFab Video Converter for Mac to achieve your goal effortlessly. This program can easily transcode Canon MXF files to Premiere Pro highly compatible MPEG-2 codec from XC10 as well as C500, C300, XF305, XF100, XF300... without quality loss. It can generates best editing format/codec for filmmakers and video enthusiasts to use in different NLE apps, such as Adobe Premiere Pro CS4/CS5/CS6/CC7, Adobe After Effects, iMovie, Avid Media Composer 5/5.5/6/6.5/7, Final Cut Express, Final Cut Pro 6/7/X, and more. If you're using a Windows PC, please turn to the Windows version, which has the same function as the Mac program.
Free Download the Canon MXF Converter trial version:
Transcoding Canon XC10 MXF files to Premiere Pro CS6/CC7
Step 1. Import MXF files
Install and launch the Mac MXF to Premiere converter, then click "Add Video" button to browse to a Canon XC10 .mxf clip and the software will add it to file list. Repeat the operation to load multiple .mxf videos.

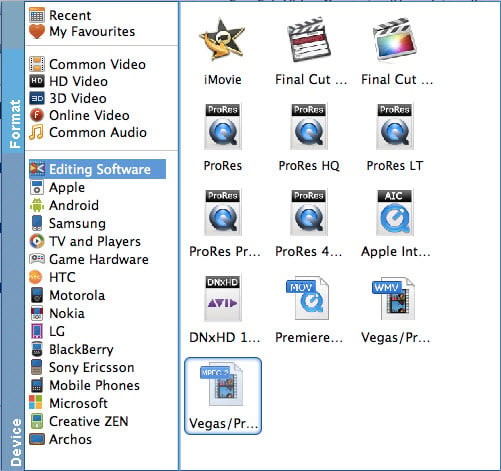
Step 2. Choose the optimized preset for Premiere
The program has three already optimized the video settings for Adobe Premiere Pro. You can select MOV (Entitled Premiere), WMV or MPEG-2 from "Editing Software" as the output format. All output videos will keep the original quality of XC10 MXF files video and seamlessly fit Adobe Premiere Pro CC, CS6, CS5.5, CS4, CS4 and more. Here we recommend you choose MPEG-2.

Tip: If you want to set some parameters for the output profile, you could click the "Settings" button to set the output bitrate, encode, frame rate, resolution, sample rate, channels, etc.
Step 3. Start conversion
When the former steps finished, you can press "Convert" button to start rewrapping Canon XC10 4K MXF files to MPEG-2 for Adobe Premier Proon Mac OS X. Once the conversion process is done, click "Open" button to get the generated files.
After the conversion, you can import the converted XC10 MXF to Adobe Premiere Pro (the latest Premiere Pro CC included) for further editing smoothly.
Related Articles and Tips:
Best Workflow of Working with Canon XC10 XF-AVC in iMovie
Canon XC10 Workflow with Adobe Premiere Elements
Working With Canon XC10 XF-AVC Files in Final Cut Pro X/7/6
