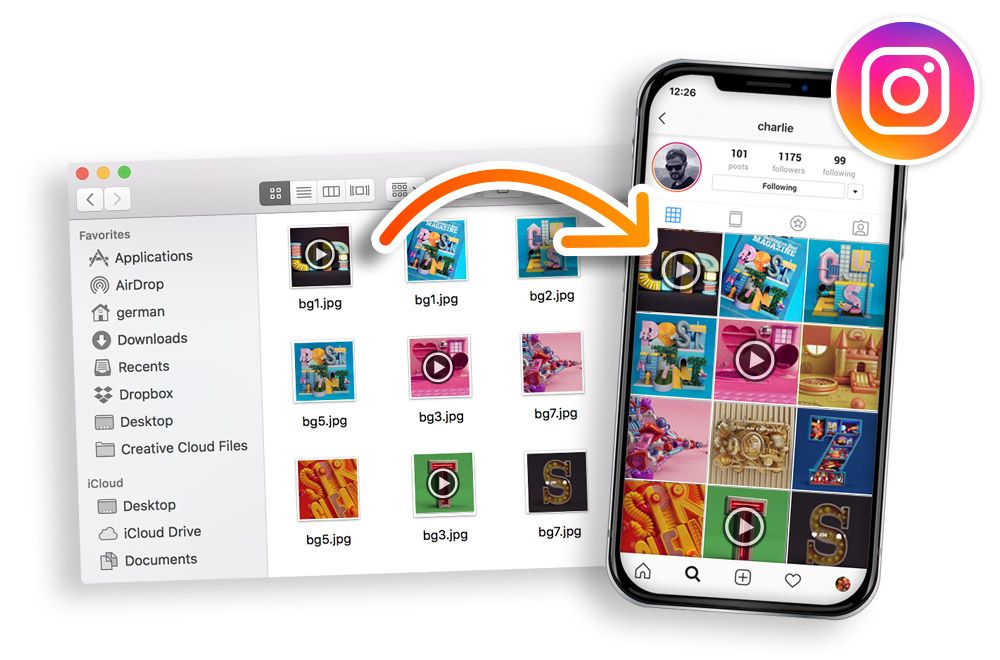
Compared with Facebook, Twitter, Flickr, Tumblr, etc, Instagram is very popular among people, you install this app on you smart phone and take the video at anytime, just open this spp and do your pose, click the upload, you can share the moment with the world. As we all know, uploading videos to Instagram is quite easy, but retaining the image quality is another story. However, there are a couple of things you can do to make sure Instagram keeps your videos as intact as possible. This article will teach you how to post the highest-possible quality videos to Instagram by recording in (or upscaling to) 4K resolution. Though Instagram will still compress the video, it will retain more detail than if you compress it before uploading.
PS: While it may sound weird to upscale 1080p footage to 4K to avoid it being compressed by Instagram, Ive personally noticed the same to be true with pictures. When uploading full resolution files from my D810, the image quality is much better than when uploading scaled down photos from the D810 or even smaller files from cameras with a smaller sensor.
Part 1: Creating a High-Quality Video
1. Record in (or upscale to) 4K resolution for Instagram
Even though Instagram will still compress the video to fit its requirements, more detail will be retained when you're working with 4K. Uploading in 4K ensures that your video looks crisp, clear, and professional。
· If you're working with a 1080p video, upscale it to 4K using your preferred professional video editing software, such as Premiere or Final Cut Pro.
· If you're looking for an option to upscale 1080p to 4K, try Freemake (Windows) or Handbrake (Windows, macOS, Linux). If you're seeking a faster and more stable professional video encoding tool, try EaseFab Video Converter (available for Windows and Mac users).
· Instagram videos must be at least 3 seconds long, but no longer than 60 seconds.
2. Save or export your video at 4K resolution.
Codec: H.264
Resolution: 4K (3840 x 2160)
Below I will take EaseFab Video Converter for an example to show you the simple process to upscale 1080p to 4K for uploading to Instagram.
Key Features of the Instagram Video Converter:
· Convert HD/SD videos in WMV, MOV, MKV, MTS etc to Instagram supported H.264 formats with world's fastest speed.
· Compress 4K/HD videos with large file size that are shot with hd cameras to smaller video size without losing quality for smooth uploading to Instagram.
· Advanced editing features to edit Instagram video like trimming, subtitle adding, effects adding, multiple parts merging into one clip etc.
Step 1: Drag and drop 1080p video files to the app. Or you can click "Add Video" button to locate the video files you want to add. The app supports batch conversion, so you can add more than one file at a time.
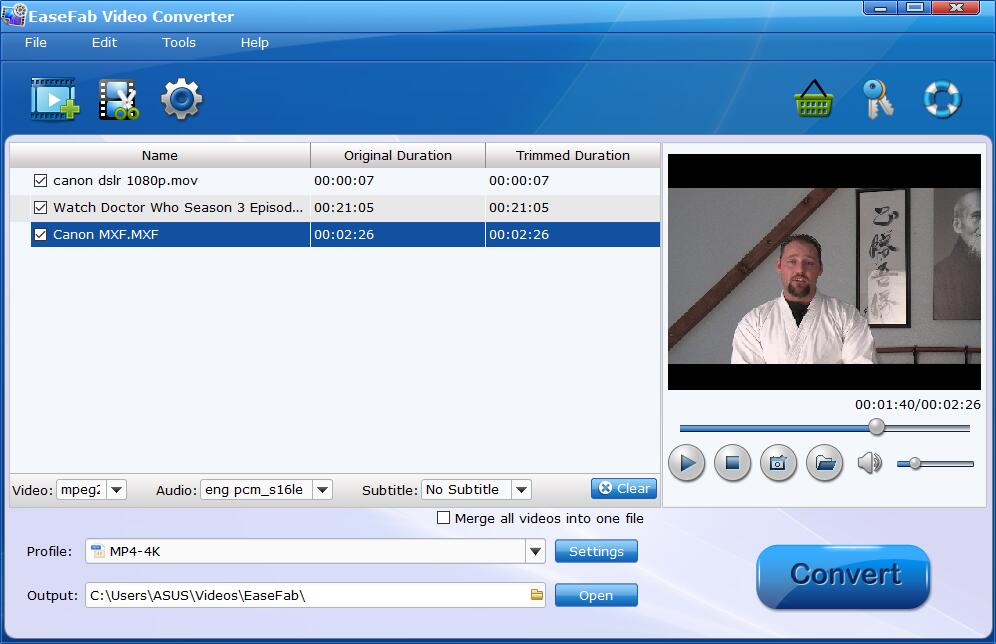
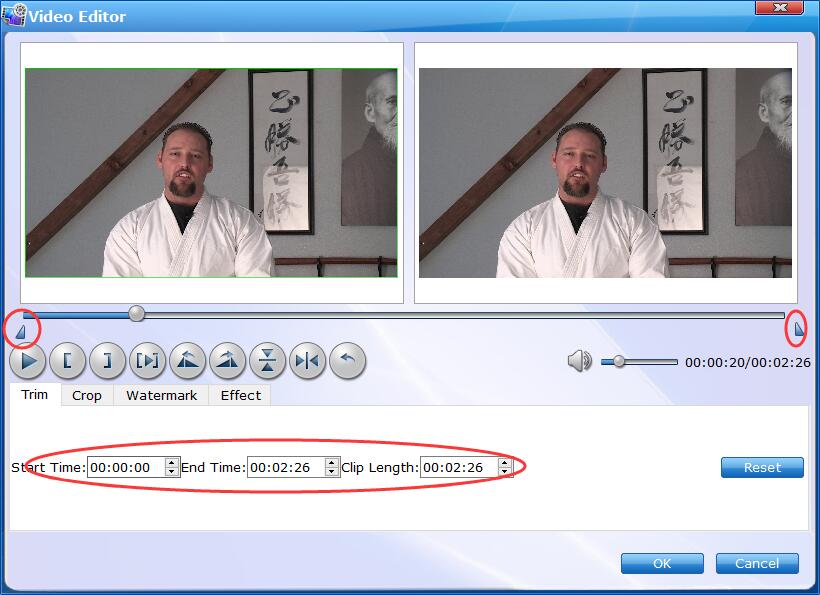
Step 2: Click "Edit" button enter the Video Editor Window. As you see, you can trim, crop or adjust the video with the built-in video editor to get the very part and effect of the movie you want. (Note that Instagram won't accept videos that are longer than 60 seconds. You need to cut your movie file into smaller parts so as to share on Instagram.)
Step 3: Click "Profile" box and move mouse cursor to "HD/4K Video" category, simply select MP4-4K as the output format. The output video will be encoded with H.264 codec.
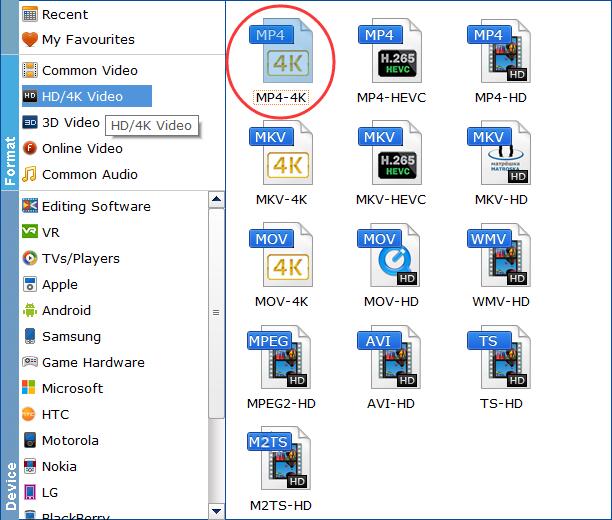
Tips: The default setting works well. Of course, if you want to customize video and audio encoding settings, just click the Settings button to customize these settings. You can adjust the output video/audio resolution, frame rate, bit rate, etc. to customize the output files to get the best quality you want.
Step 4: Finally, click "Convert" button and start to convert and upscale 1080p video to 4K MP4 with H.264 codec for Instagram. Just wait a minute and the conversion will be done and click Open to get the converted video files.
3. Transfer the video to your phone or tablet.
It's important to use the right method so that you don't lose video quality during the transfer:
· Use AirDrop to transfer the file from a Mac to an iPhone or iPad.
· Use VLC Media Player to transfer the file from a PC to an iPhone or iPad.
· Install the app on both the PC and phone or tablet.
· Open VLC on the iPhone or iPad, tap the menu, then select Sharing via WiFI.
· Get your iPhone or iPad's IP address using the steps found here.
· Go to your phone or tablet's IP address in your PC's web browser, then drag the video file to the browser window.
· In VLC on the phone or tablet, tap the video, tap the sharing icon, then tap Save Video to save it.
· Use a USB cable to transfer the file from a PC to an Android.
· Use Dropbox if to transfer the file if you have a Mac and an Android.
Part 2: Uploading the Video to Instagram
1. Open Instagram on your phone or tablet. It's the pink, purple, and orange camera icon. You’ll usually find it on the home screen or in the app drawer (on Android).
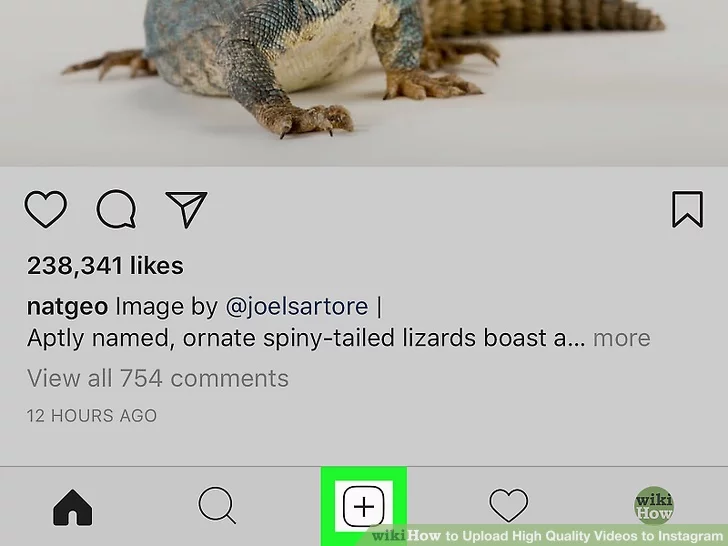
2. Tap the New Post icon. It's a square with a "+" inside. You'll find it at the bottom-center part of the home screen.
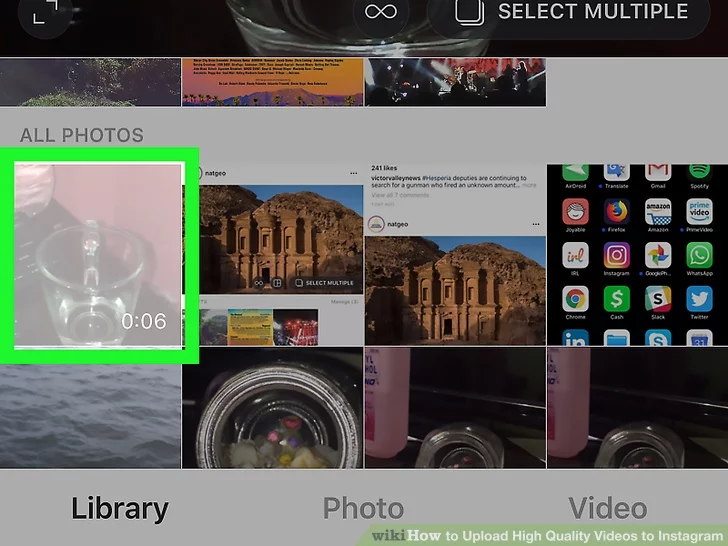
3. Tap the Library tab. It's at the bottom-left corner of the screen. Youll only need to do this if you see the video or traditional camera screen.

4. Select the video and tap Next. This opens the video in editing mode.
5. Edit the video (optional) and tap Next.
· Swipe through the filters at the bottom of the screen, then tap one to select it.
· To share only part of the video, tap Trim at the bottom of the screen, then use the sliders to select only the part of the video you want to keep.
· To select a video still to use as the cover image, tap Cover, then make your selection.

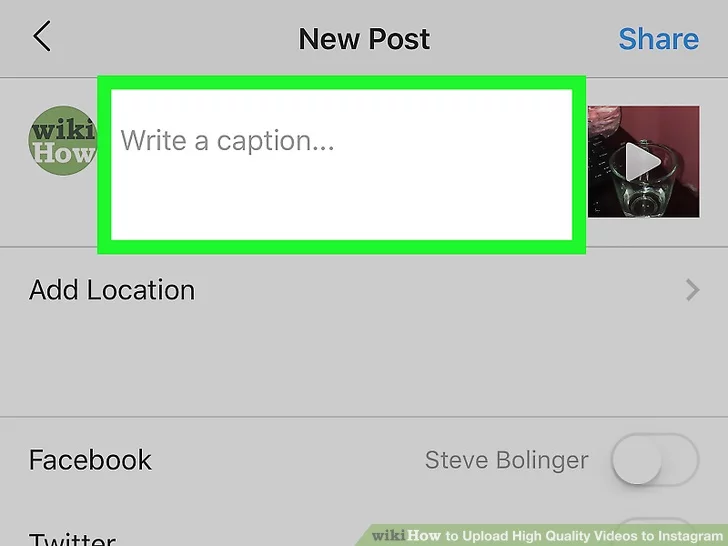
6. Add a caption and tags (optional). The text you type into the top box will appear below the video in your feed. You can also tag your location, as well as other Instagram users in the video.
6. Tap Share. This uploads your high-quality video to the Instagram feed.
Since you're uploading a large file, the video may take several moments to appear in the feed.

