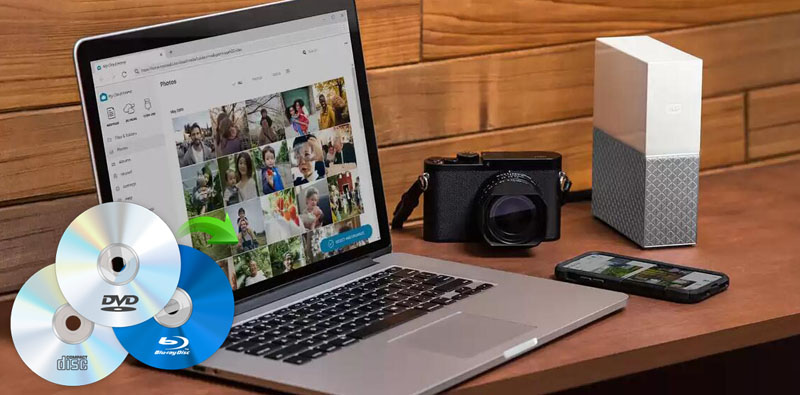
Western Digital My Cloud is a software-powered, web-enabled, high-capacity storage unit. Unlike a NAS, it's a simple centralized solution to back up your photos, videos and files, and have it stored in one place. With the My Cloud Home app, you can access, upload and share your content across every computer or mobile device enabled on your home network. If you own a big collection of old home videos, movies, and TV series on DVDs and Blu-rays, you can consider uploading them to WD My Cloud. This way you can not only save up on your local storage space, but also be able to access to your Blu-ray or DVD movies on smartphone, tablet, or others via My Cloud as long as internet connection is available. Wherever you go, your Blu-ray and DVD movies follow. Well, how to save DVD to WD My Cloud?
To begine with, you need to download and install EaseFab Blu-ray Ripper to rip & digitize Blu-rays/DVDs.
In most cases, you're not allowed to extract the video of DVD/Blu-ray to computer directly for further uploading to WD My Cloud or elsewhere because of the inbuilt copy protection schemes. You need to use a third-party program to do that job. Among all Blu-ray & DVD rippers in the market, EaseFab Blu-ray Ripper is the highly recommended one for the following features.
◉ Support any types of Blu-rays and DVDs are supported, no matter the old Blu-ray/DVD discs, new releases, kids, Disney 99 titles, or slightly damged ones.
◉ Digitize Blu-rays/DVDs to MP4, MOV, WMV and other WD My Cloud supported video formats with proper file size for fast uploading.
◉ Offer 350+ optimized profiles for converting physical discs for playback on phones, tablets, TVs, to game consoles.
◉ Blazing fast speed to accomplish Blu-ray ripping. It won't take you too much time to digitize a heap of Blu-rays and DVDs with the powered hardware acceleration and other advanced technologies.
Free download EaseFab Blu-ray Ripper Windows or Mac version to help upload Blu-ray/DVD to WD My Cloud:
How to Rip Blu-ray/DVD for Uploading to WD My Cloud
In this guide we take EaseFab Blu-ray Ripper (Windows version) as an example. Mac version shares the same steps.
Step 1: Load your Blu-rays.
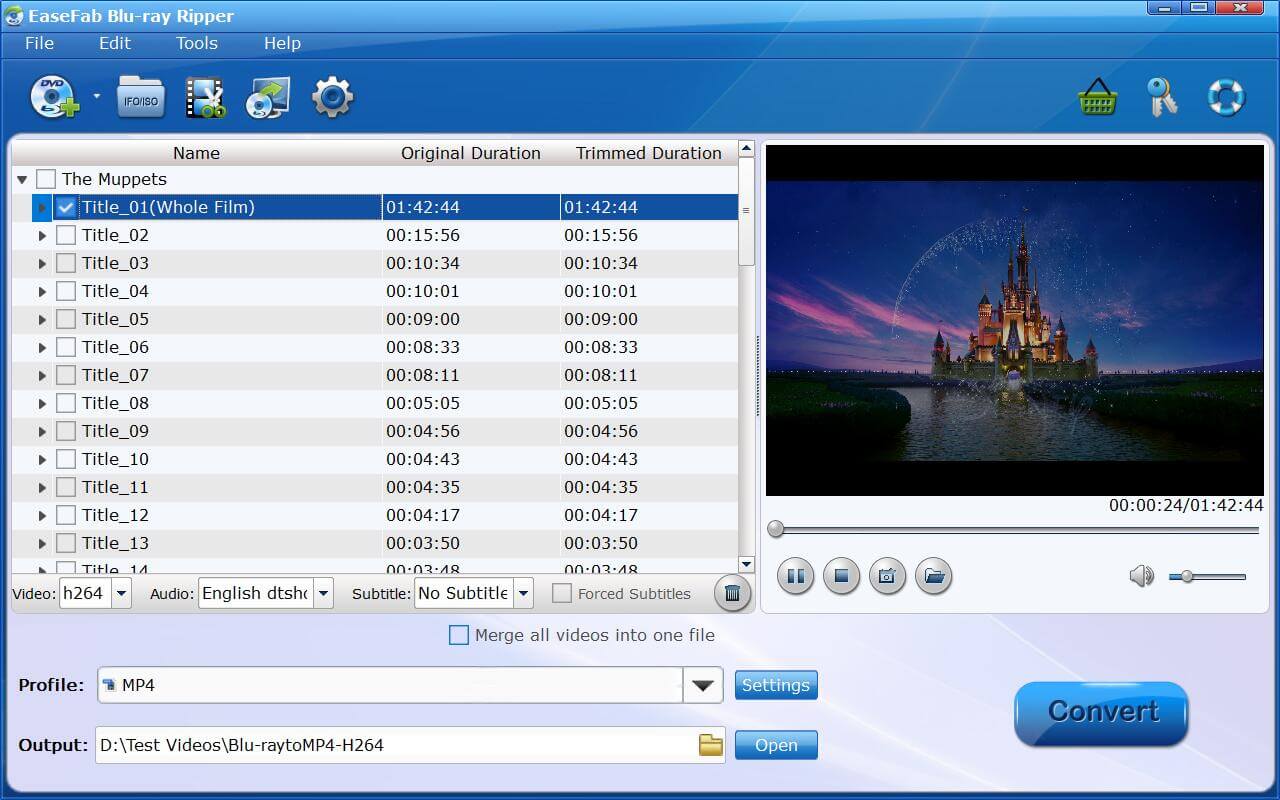
Launch EaseFab Blu-ray Ripper and then insert your Blu-ray disc into your Blu-ray drive that have been connected to your PC. Click Load Disc button to load the Blu-ray movie you want to rip for cloud storage. BDMV Folder, ISO image and VIDEO_TS folder can also be taken as source for decoding.
This Blu-ray ripper will easily detect the correct title hiden in Blu-rays. At the bottom, you can select your desired subtitle and audio track.
Step 2: Choose an output profile that WD My Cloud supports.
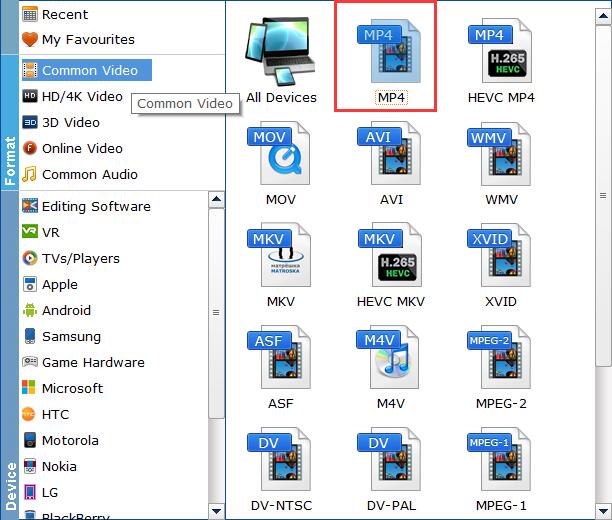
According to WD My Cloud help center, only the video formats in MP4 and MOV are supported. Therefore, in order to upload Blu-ray/DVD movie to WD My Cloud successfully and play the movie on various devices flawlessly, you're suggested to click Profile > Common Video > choose MP4 (codec: H.264+AAC) as the output profile.
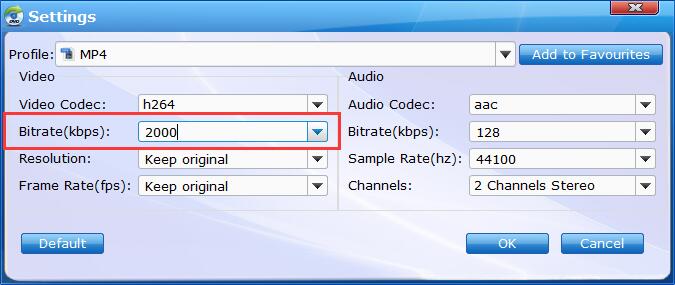
Tips: If need to get a good balance between file size and output quality, flexible options are offered to further reduce the size of the ripped video. Click Settings button beside the profile bar and enter into the parameter settings page. A slew of other variables such the video/audio codecs, pixel dimensions, frame rate, bit rate, audio sampel rate, etc. will help convert a Blu-ray/DVD at large size to a smaller MP4 file at about 1.2-2.0GB in size to make more room.
Recommended video quality-size settings:
◆ You're not suggested to adjust the frame rate and aspect ratio, if not necessary.
◆ Lower the bitrate to a lower level. Adjusting the original Normal quality to bitrates of around 1500-2000 is acceptable and can make your ripped MP4 movie around 1.0-2.0GB in size, 94% smaller than the original Blu-ray movie, and to the naked eyes, it's highly unlikely to distinguish the difference between the original movie and the re-encoded video.
◆ Lower the resolution. Typical Blu-ray videos are 1920×1080 (Full HD) and typical DVD videos are 720×480 (NTSC) and 720×540 (PAL). Adjust the resolution to lower or higher won't make any quality difference.
Step 3: Start ripping Blu-ray/DVD.
Click the small Folder button in the Output bar, and select a destination folder to save your rip. Now you can hit Convert button and then it will begin decrypting and digitizing the disc. Within minutes (note: the ripping speed varies depending on your computer configurations. ), EaseFab Blu-ray Ripper will finish the ripping and put the digital copy of your Blu-ray or DVD in the destination folder. Then, you can upload it to WD My Cloud.
Disclaimer: EaseFab Software does not advocate ripping commercial Blu-rays and DVDs for any illegal purpose. You're suggested to refer to the Blu-ray/DVD copyright laws in your country before doing so.
How to Upload Blu-ray/DVD rips from PC/Mac to WD My Cloud
In order to upload the ripped Blu-ray/DVD video files from your PC or Mac to your myCloud via mycloud.ch, please follow these steps:
1. Go to the "Home" tab in your myCloud.
2. Click on the blue "Upload" button in the upper right-hand corner.
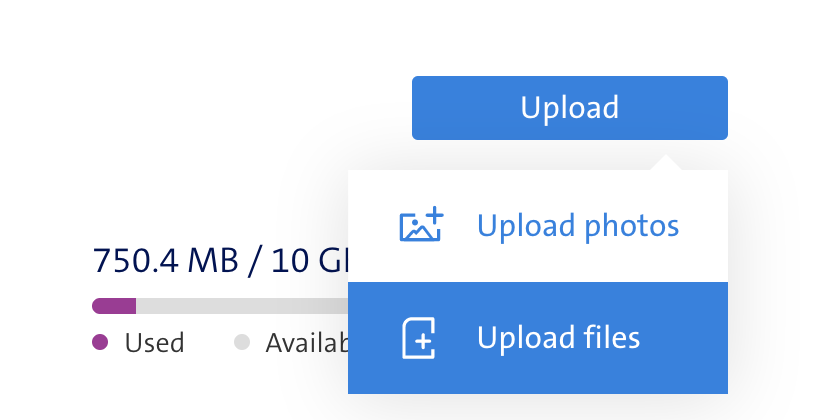
3. Then click on "Upload files".
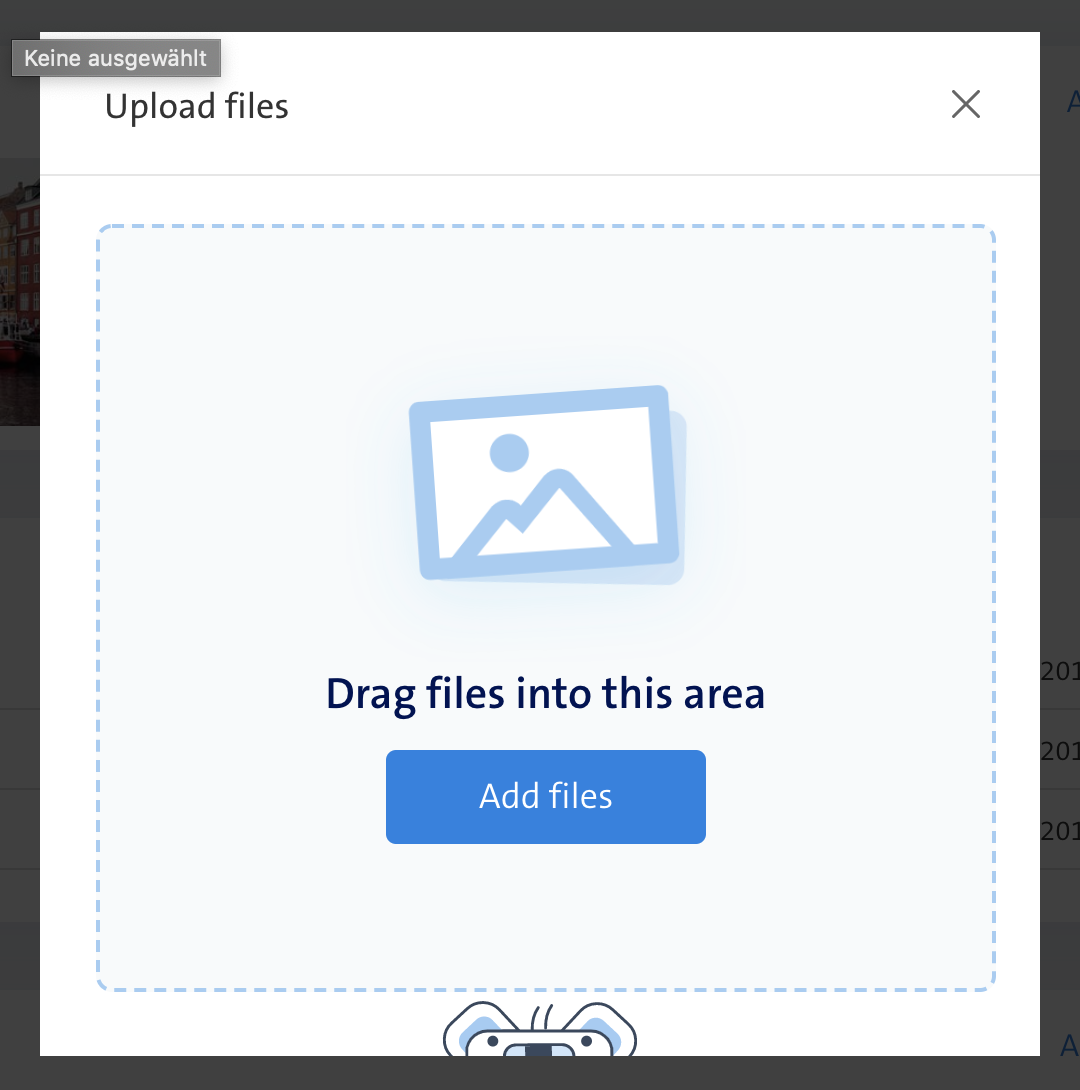
4. Using the window that now appears, you can upload ripped Blu-ray or DVD files to your myCloud per drag & drop.
