Apple's latest Mac operating system, macOS Sierra, comes in the fall 2016. It includes features like auto unlocking via Apple Watch and Siri integration. Sadly, MacOS Sierra still doesn't sport Blu-ray drives and Blu-ray playback software and probably never will, so why bother? Instead of fretting about this and going off to re-purcahse all your content on iTunes so that you can watch it on your iOS devices, Mac computers, and Apple TV, maybe you should consider ripping your Blu-Ray content on MacOS Sierra.
It's very easy to get the work done, and I'm going to give you a full walkthrough, so join me after the break for some insight on getting all your high-definition content on your Mac.
To get the movies off of Blu-ray discs on MacOS Sierra, you're going to need a third-party tool to decrypt the data on your discs. In fact, there are many programs out there that allow you to make copies of your Blu-rays and let you want to watch them you want to view them. If you are seeking for the best video output quality, fastest video conversion speed, and the most formats supported, EaseFab Blu-ray Ripper for Mac (compatible with MacOS Sierra) will be your best choice. Also it has other features that will impress you.
* Convert Blu-ray/DVD to MP4, AVI, M4V, MKV, FLV, MOV, MPG, etc videos with excellent and unmatchable ripping-converting speed while preserving HD quality.
* Superior support any kinds of Blu-ray and DVD
* Backup any Blu-ray/DVD movies with 100% original quality
* Support 150+ ready presets for portable multimedia devices
* Edit and touch up Blu-ray/DVD movies as you like
P.S. For those who want to convert and rip Blu-ray files on Windows (Windows 10 included) PCs, please turn to EaseFab Blu-ray Ripper for Windows.
Download the best Blu-ray Ripper for MacOS Sierra:
Part 1: How to rip and convert Blu-ray under OS X 10.12 MacOS Sierra
Step 1. Load Blu-ray movies
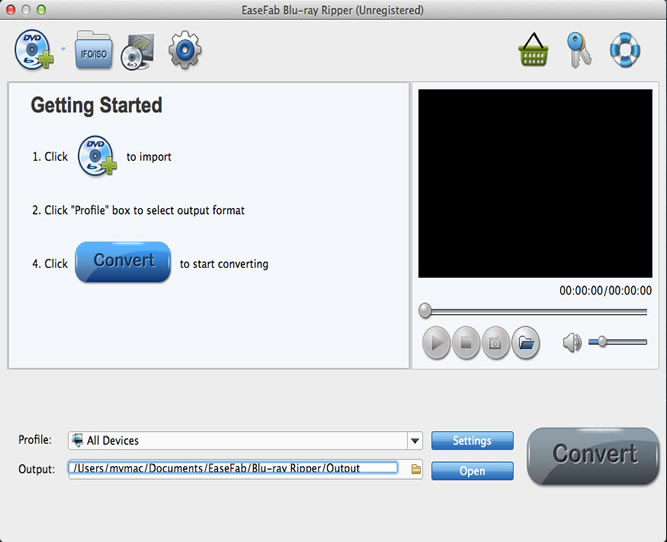
Install and run the Blu-ray Ripper for MacOS Sierra, insert your Blu-ray disc into the BD Drive (necessary for ripping Blu-ray discs) that connected to your Mac computer. Then click the "Load Disc" button to have movies uploaded to the program. Here you can also import DVD folders, ISO files and IFO files to convert. At the bottom, you can select your desired subtitle and audio track.
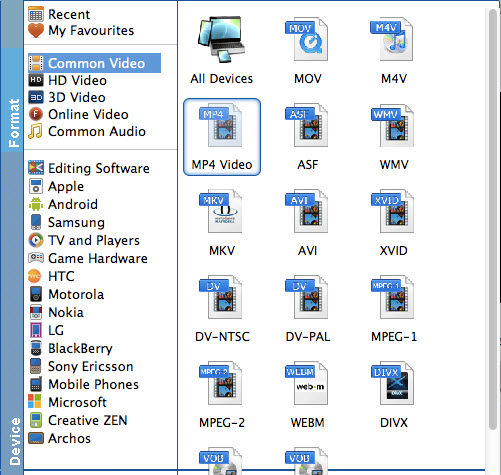
Step 2. Choose Output Format
Select the output format as you want. With the help of best Blu-ray ripper for MacOS Sierra, you can easily rip Blu-ray to the video formats you desire like Blu-ray to MP4, MOV, iTunes, Final Cut Pro, Adobe Premiere, iMovie, iPhone, iPad, Android, etc.
Step 3. Start ripping Blu-ray
After steps above, tap "Convert" button to start to rip Blu-ray discs on MacOS Sierra. After the conversion is complete, you can enjoy the Blu-ray movies as you like on MacOS Sierra without any hassles.
Part 2: How to backup Blu-ray discs on MacOS Sierra
1. Add Blu-ray/DVD movie
Insert the Blu-ray disc to the Blu-ray drive or DVD to the DVD-ROM, then click the "Load Disc" button to add videos.
2. Select an output folder
Specify a folder to store backed-up video files in the Browse field. (Note: if you are backing up a Blu-ray disc, please make sure the storage place is around or above 30GB.)
3. Choose and start to backup
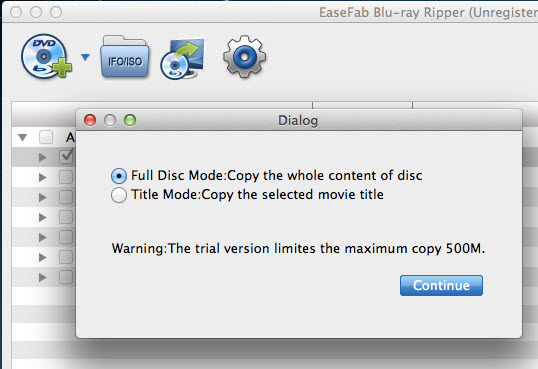
Full Disc Mode: Copy the whole content of disc
Choose Full Disc Mode to start to backup Blu-ray or DVD. In fact, the Full Disc Mode feature maintains the entire structure of an original Blu-ray or DVD disc, so the m2ts streams or .vob streams are contained.
Title Mode: Copy the selected movie title
Choose Title Mode. By default, EaseFab Blu-ray Ripper choose the longest title which is usually contains the main movie. And this helps ripping without converting unnecessary titles.
Tips: A title may consist of many chapters. Select Show Chapters from the Edit menu, and then the chapters appear under each title. You can select the chapters which you want to convert.